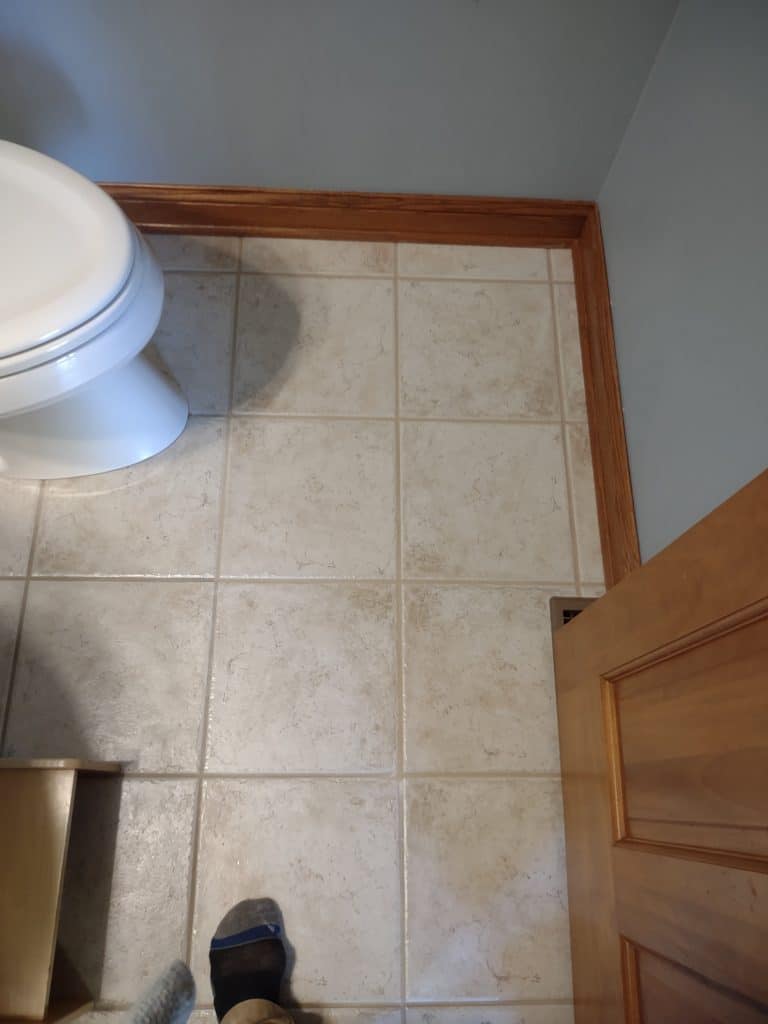
This customer contacted us about repairing the grout on their bathroom tile floor: they had observed the grout separating and cracks forming around the tiles. Upon investigation, however, we realized more was needed than a simple regrout. We noticed that the tiles had actually lost their bond to the floor. When tapping on the tiles, we could hear the loose tiles move. This will often be a smacking sound as the tile hits the substrate, or a gritty sound as the sand in the joints crumbles and grinds against the tile. The video below shows the type of sound we are listening for:
Repairing grout around loose tiles will never fix the issue as a tile assembly can only absorb minimal movement. The extra movement in the tile as it is walked on will be enough to crack the tile or grout over and over. The only way to fix this problem is to remove the tiles and reinstall them to industry standards.

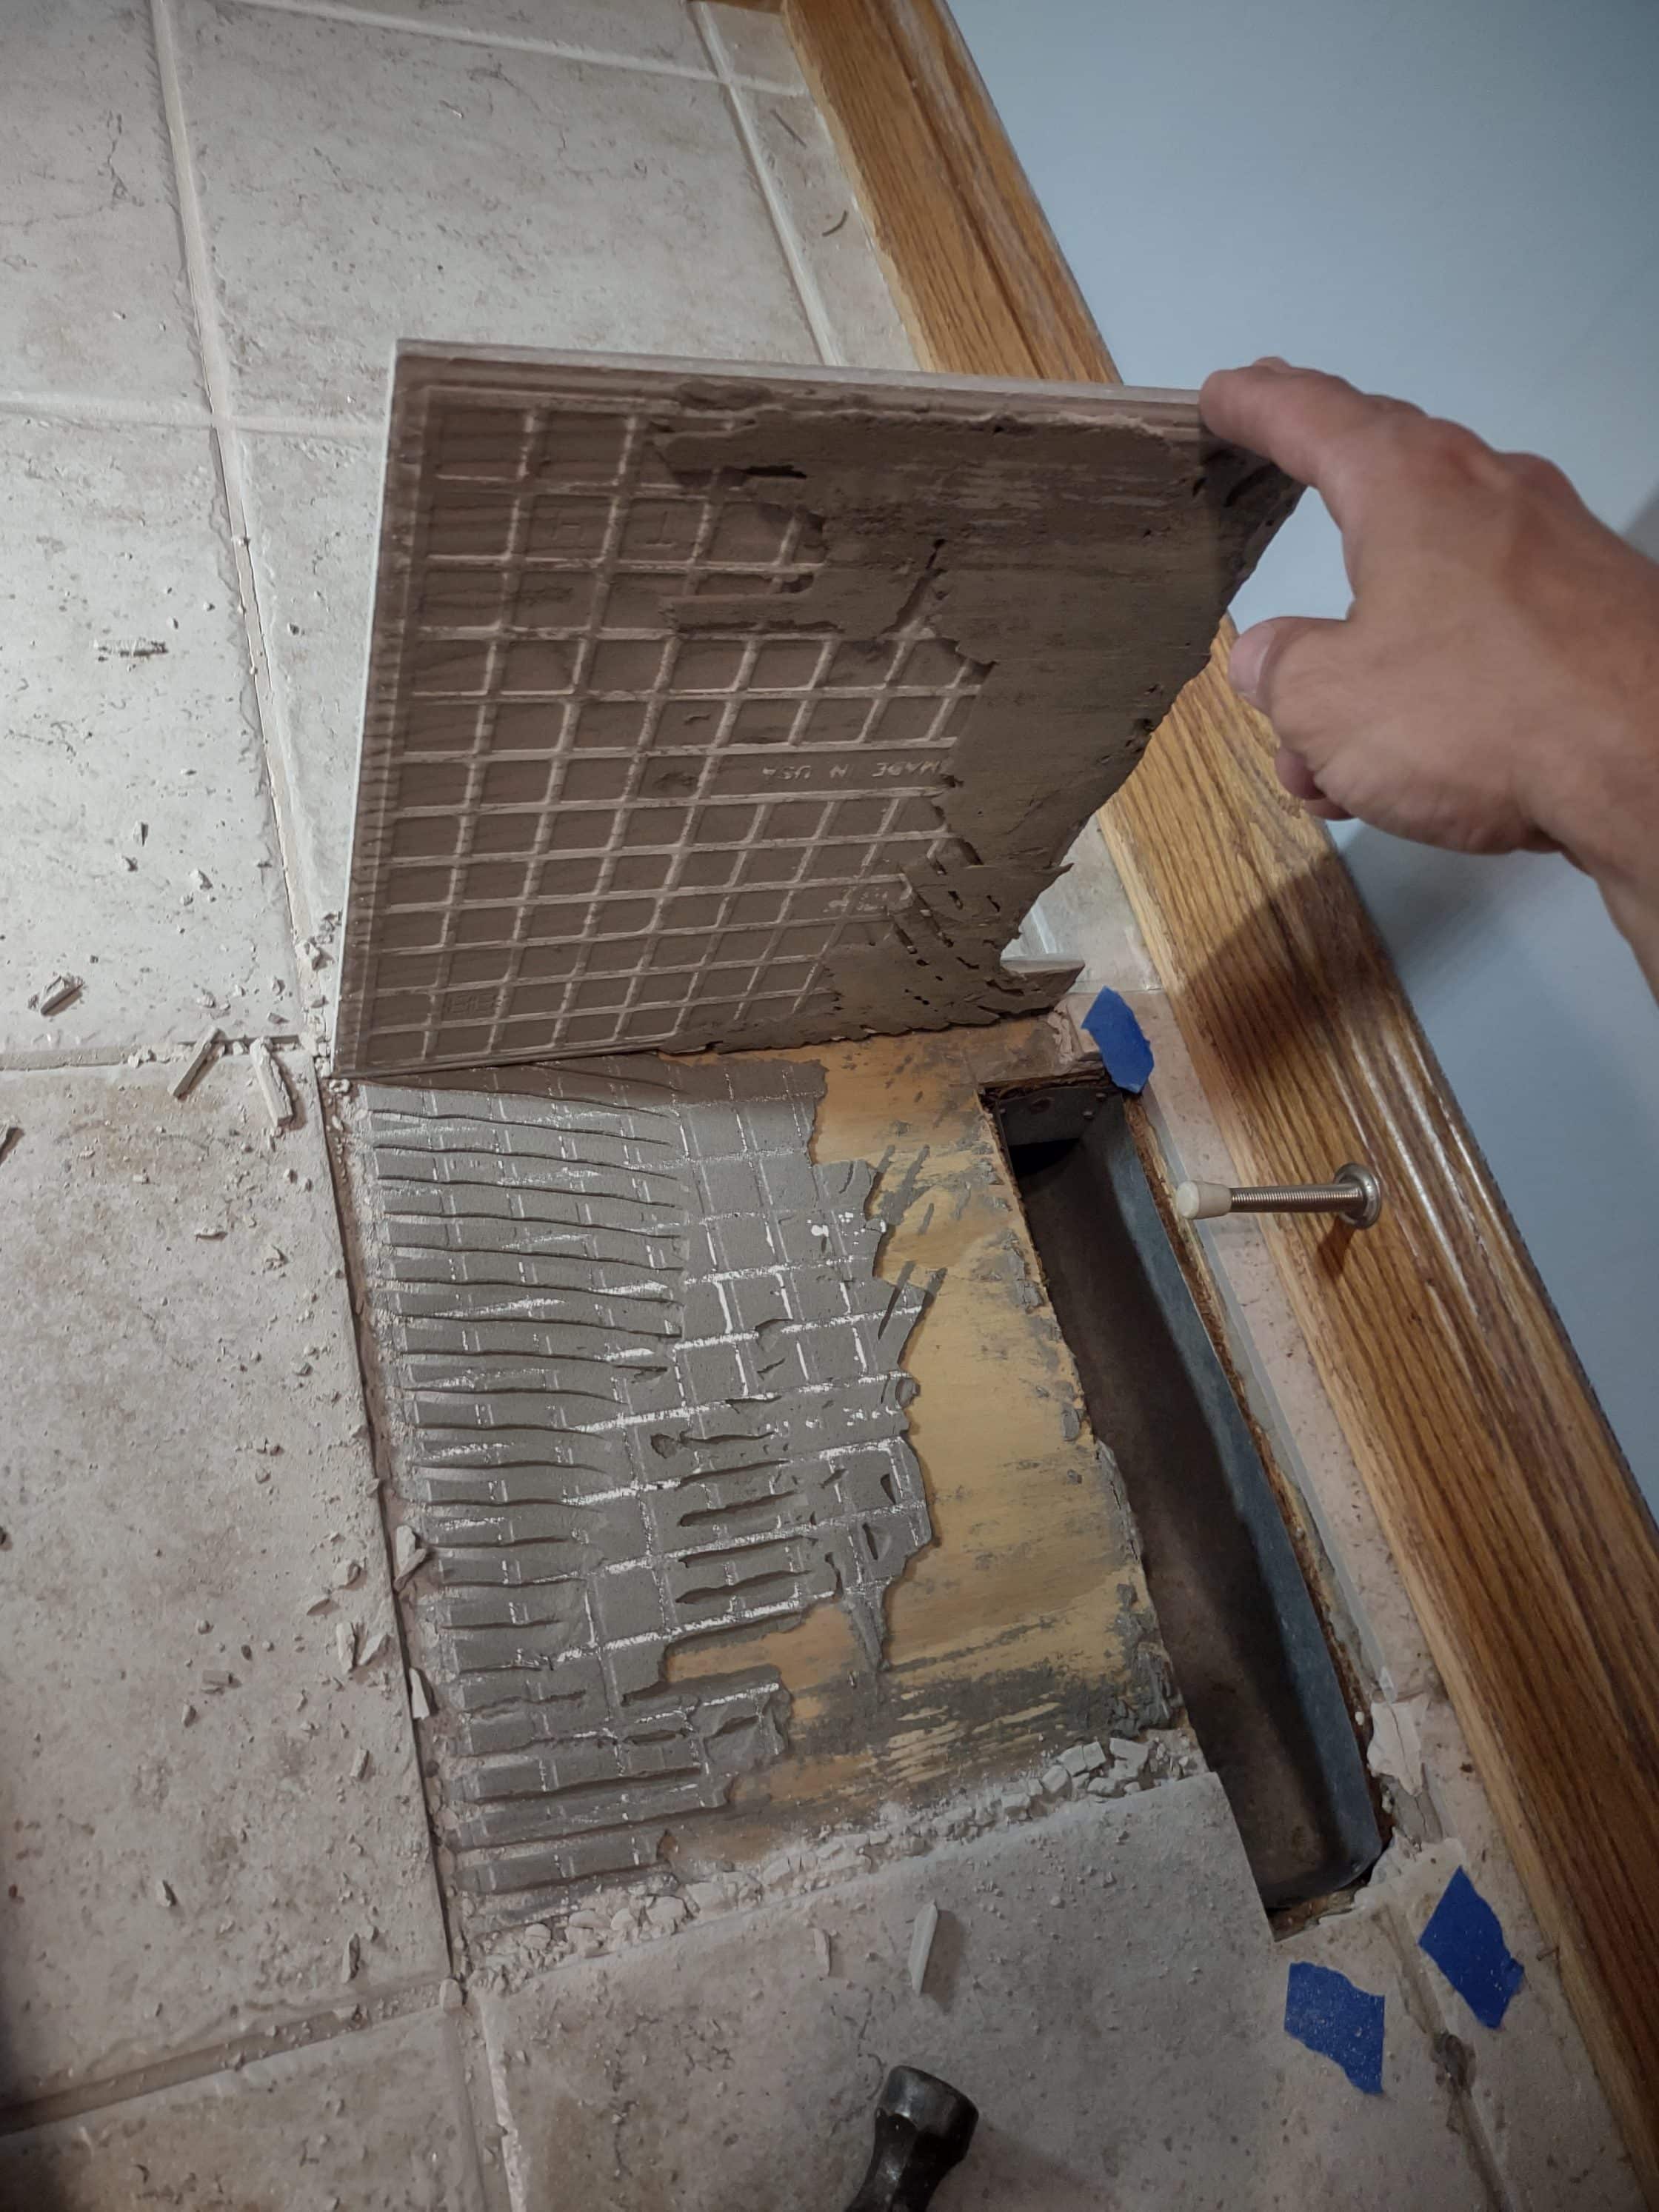
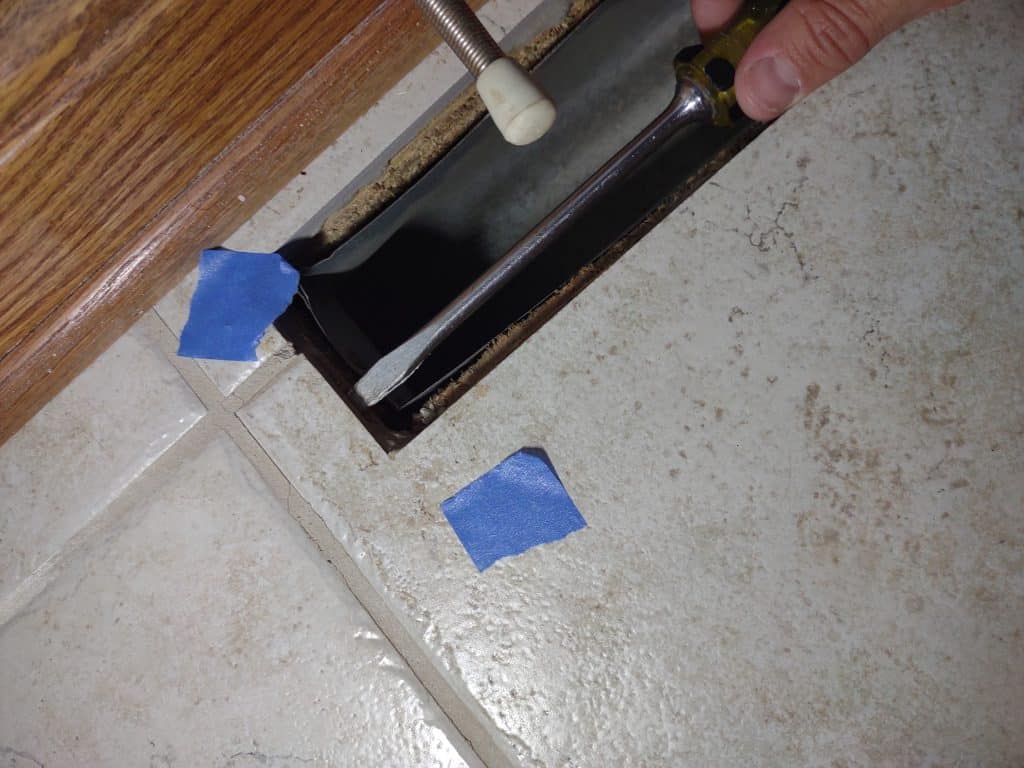
After tapping around the floor and getting a feel for where things have come loose and cracked the grout, we marked the tiles for removal. Then start to *very carefully* remove tile. As this was the original installation by the builder, we didn’t have any leftover tiles to use. Rather than letting any break, we had to be surgical in our approach to removal. This involved scraping out grout first, then slowly and gently wiggling to get the tiles to come up completely.
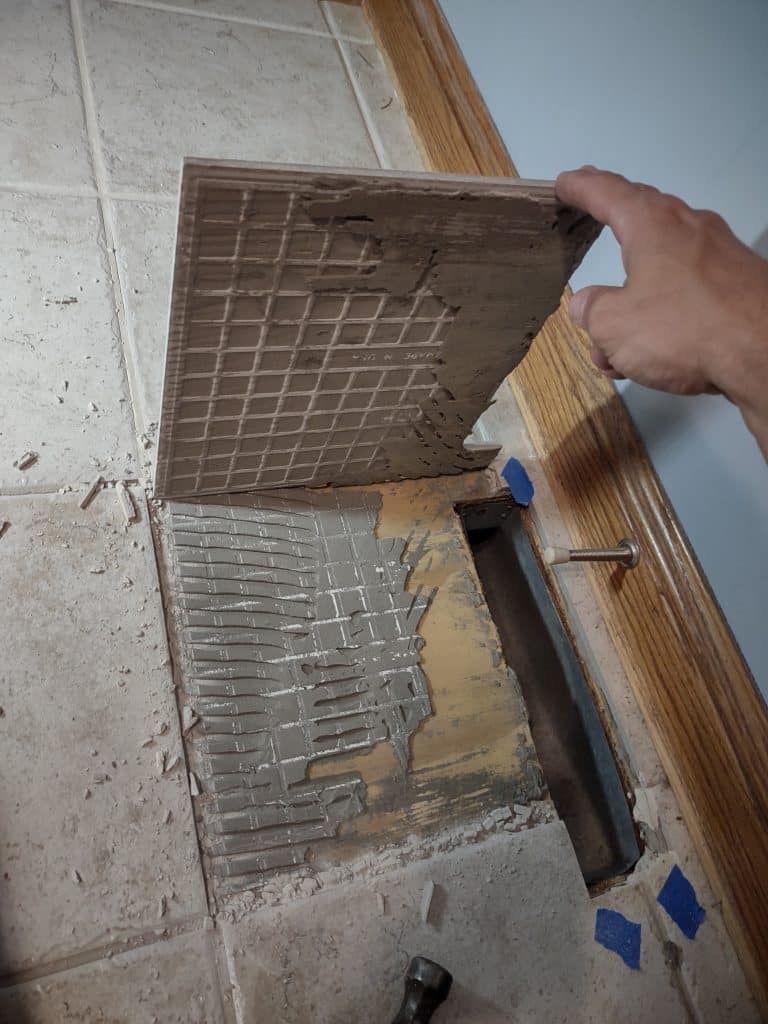
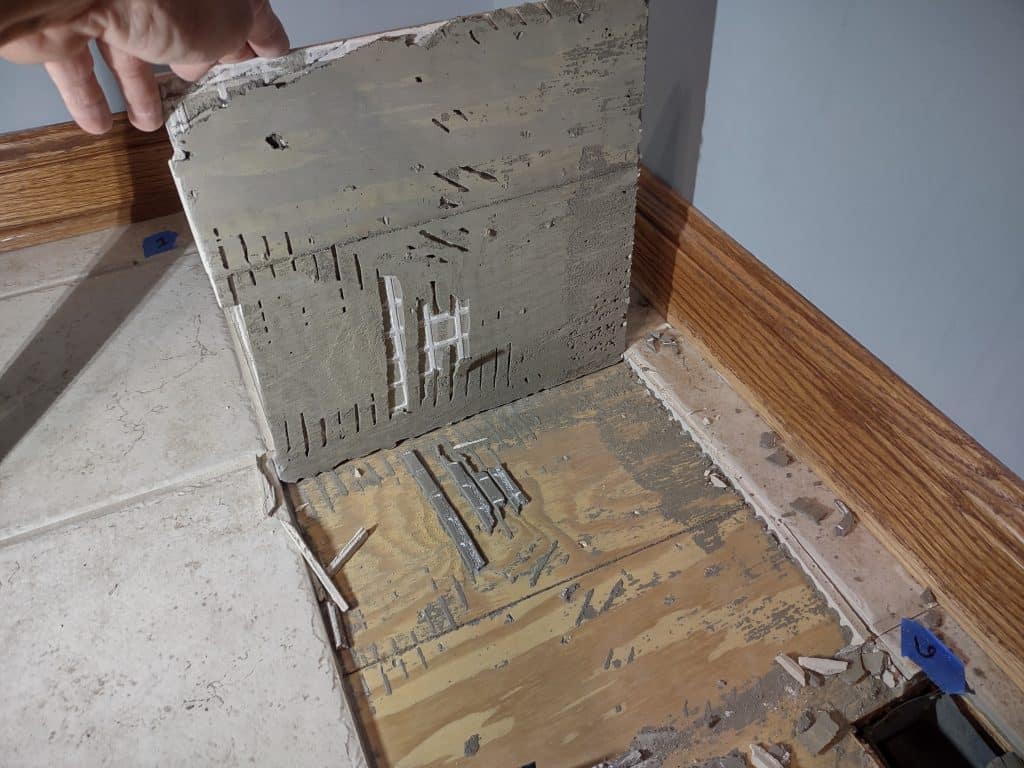
We were able to remove our tiles without too much difficulty. While it was clear the mortar wasn’t troweled very well, the bigger issue seemed to be that the mortar just didn’t bond well to the tile and the plywood underlayment. The most likely reasons for this are: 1. using a lower-grade mortar than necessary (bonding to plywood requires a mortar with significantly more polymer modification than most – ANSI 118.11 or better). 2. Also possible that the plywood substrate nor the tiles were very clean. This is especially possible in new construction. 3. Perhaps the installer was nearing the end of the job and added extra water to the drying mortar to “make it last”. This can significantly inhibit the bond of the mortar and weaken the molecular structure.
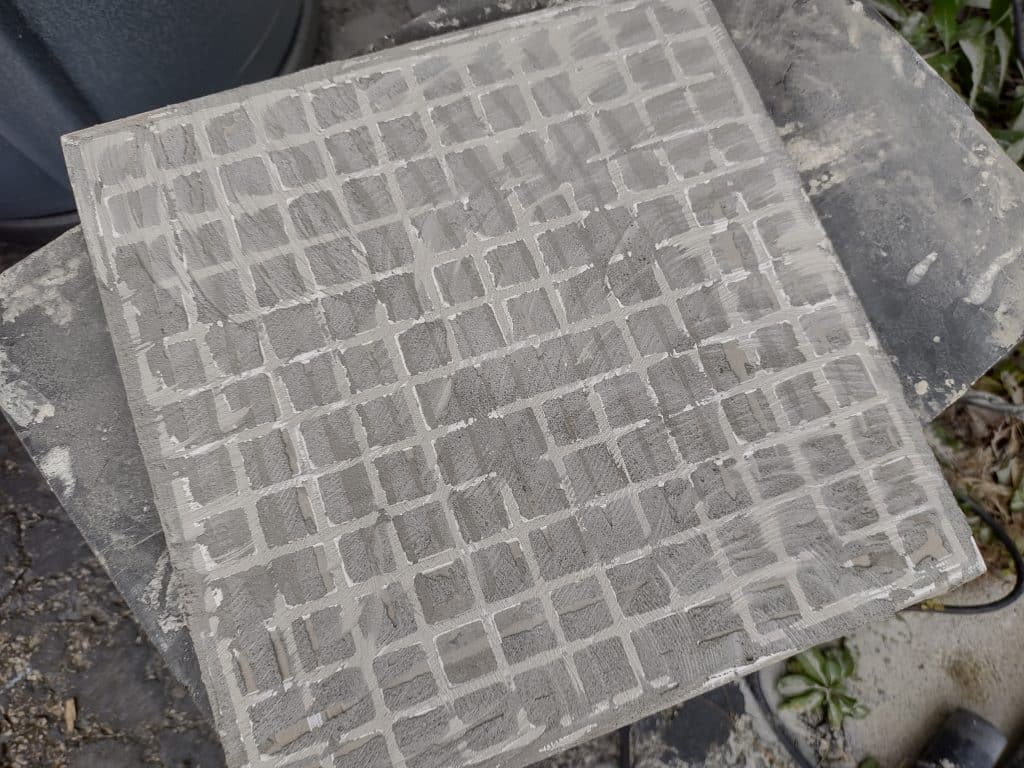
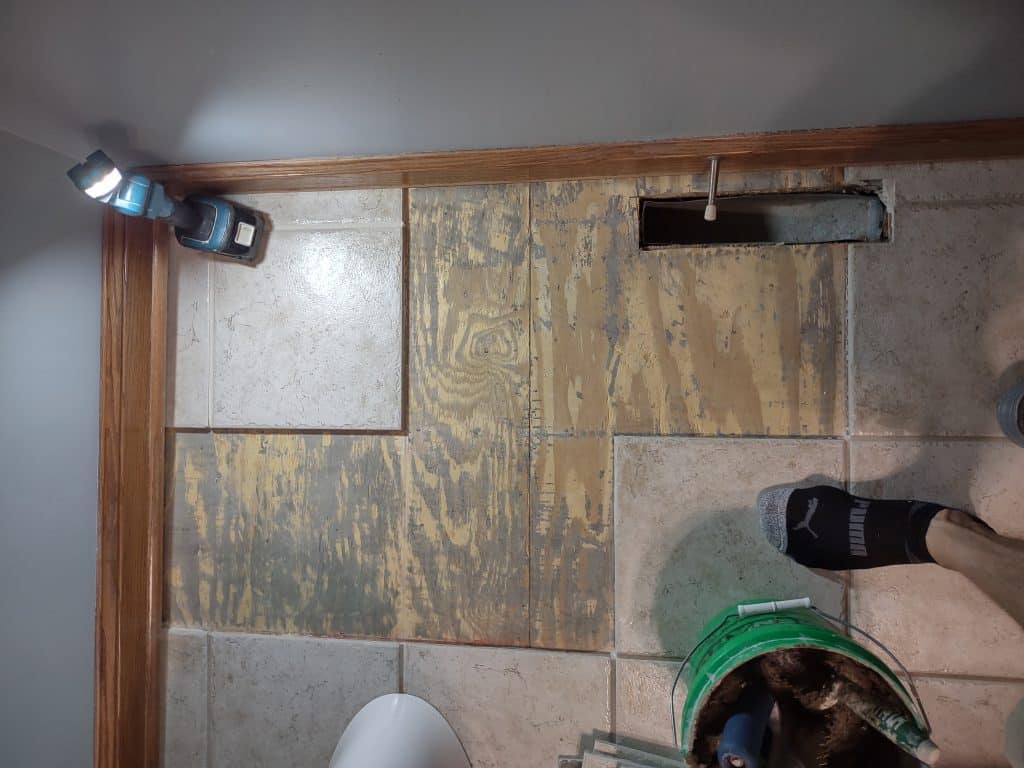
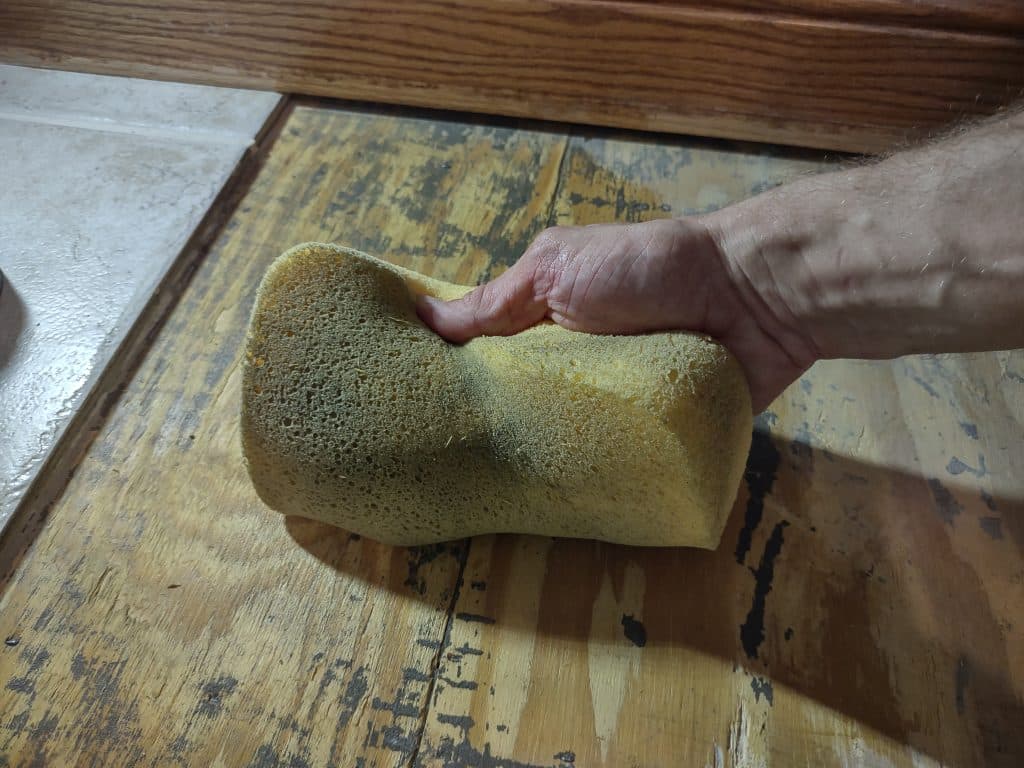
The next steps to repair the bathroom tile were to clean the remaining mortar off both tiles, and plywood substrate. In order to reuse the existing tiles, we had to grind the backs of the tiles. This in particular was slow work as we needed to minimize heat and vibration to ensure none of the tiles cracked.
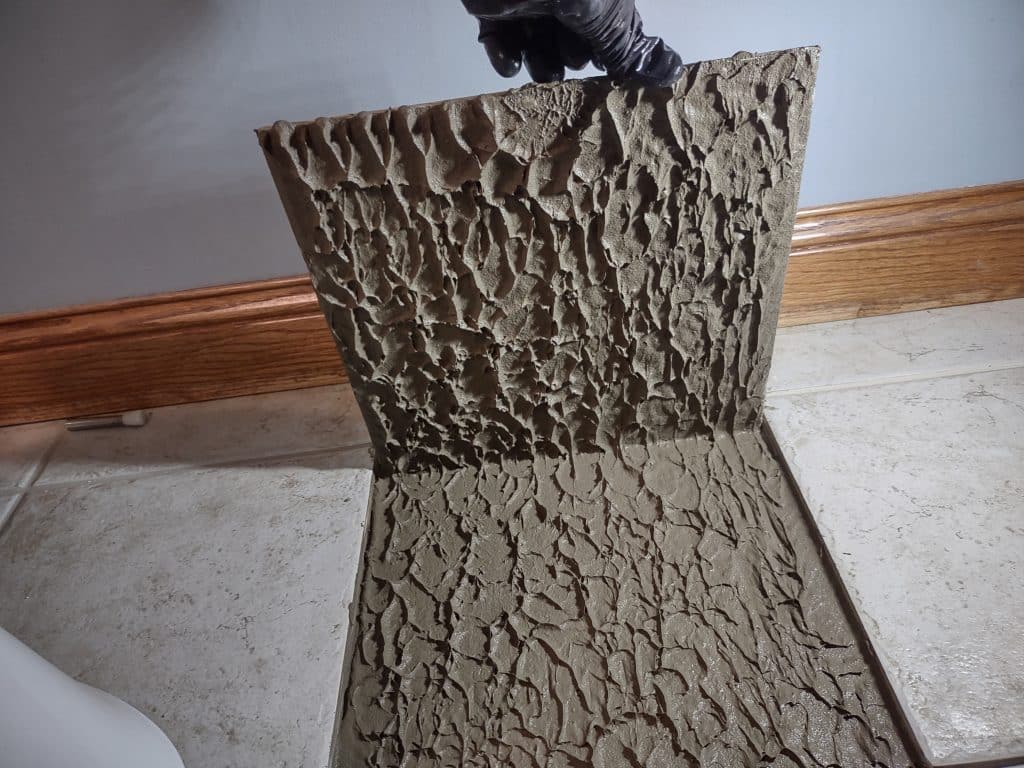
Then, time to re-install the tile! Here, we used a highly-modified rapid-setting mortar for the installation suitable for installation of porcelain tile over plywood underlayment.
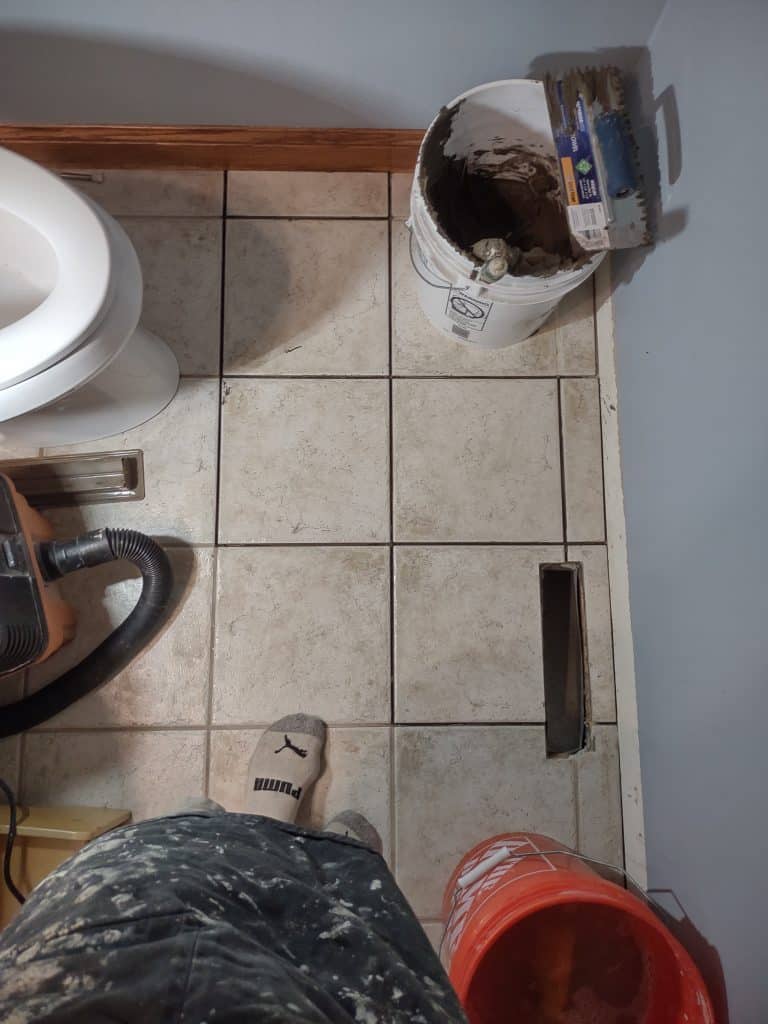
Once the mortar has cured, it’s time to grout. On new installations, we typically use newer-style grouts (epoxies or urethanes) but on bathroom tile repairs, we want to match the existing grout closely. Using a color-matched cementitious grout seemed to do the trick.