
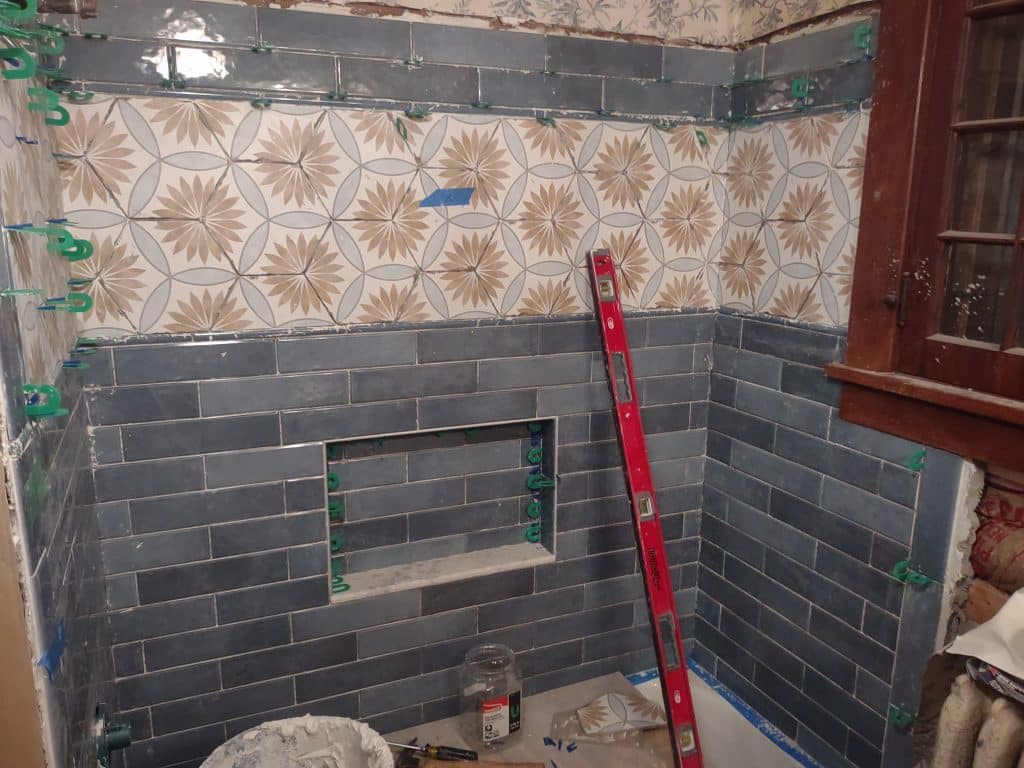
We recently worked on this tub surround in an historic home in Aurora. Rather than doing the complete project, we started with a bare stud wall and prepped and tiled from there.
As we’ve mentioned in other articles, one of the fundamentals of tile installation is to achieve a complete and consistent layer of mortar between the tile and the substrate. In order to achieve that, an important prerequisite is to make sure the surface is absolutely flat. This often means some carpentry and a lot of careful shimming before installing backer board.
This job, was a good candidate for traditional “mud” or thick mortar bed walls instead of using backer board. While we don’t always prep this way for tile, for this home it was a good fit for a number of reasons:

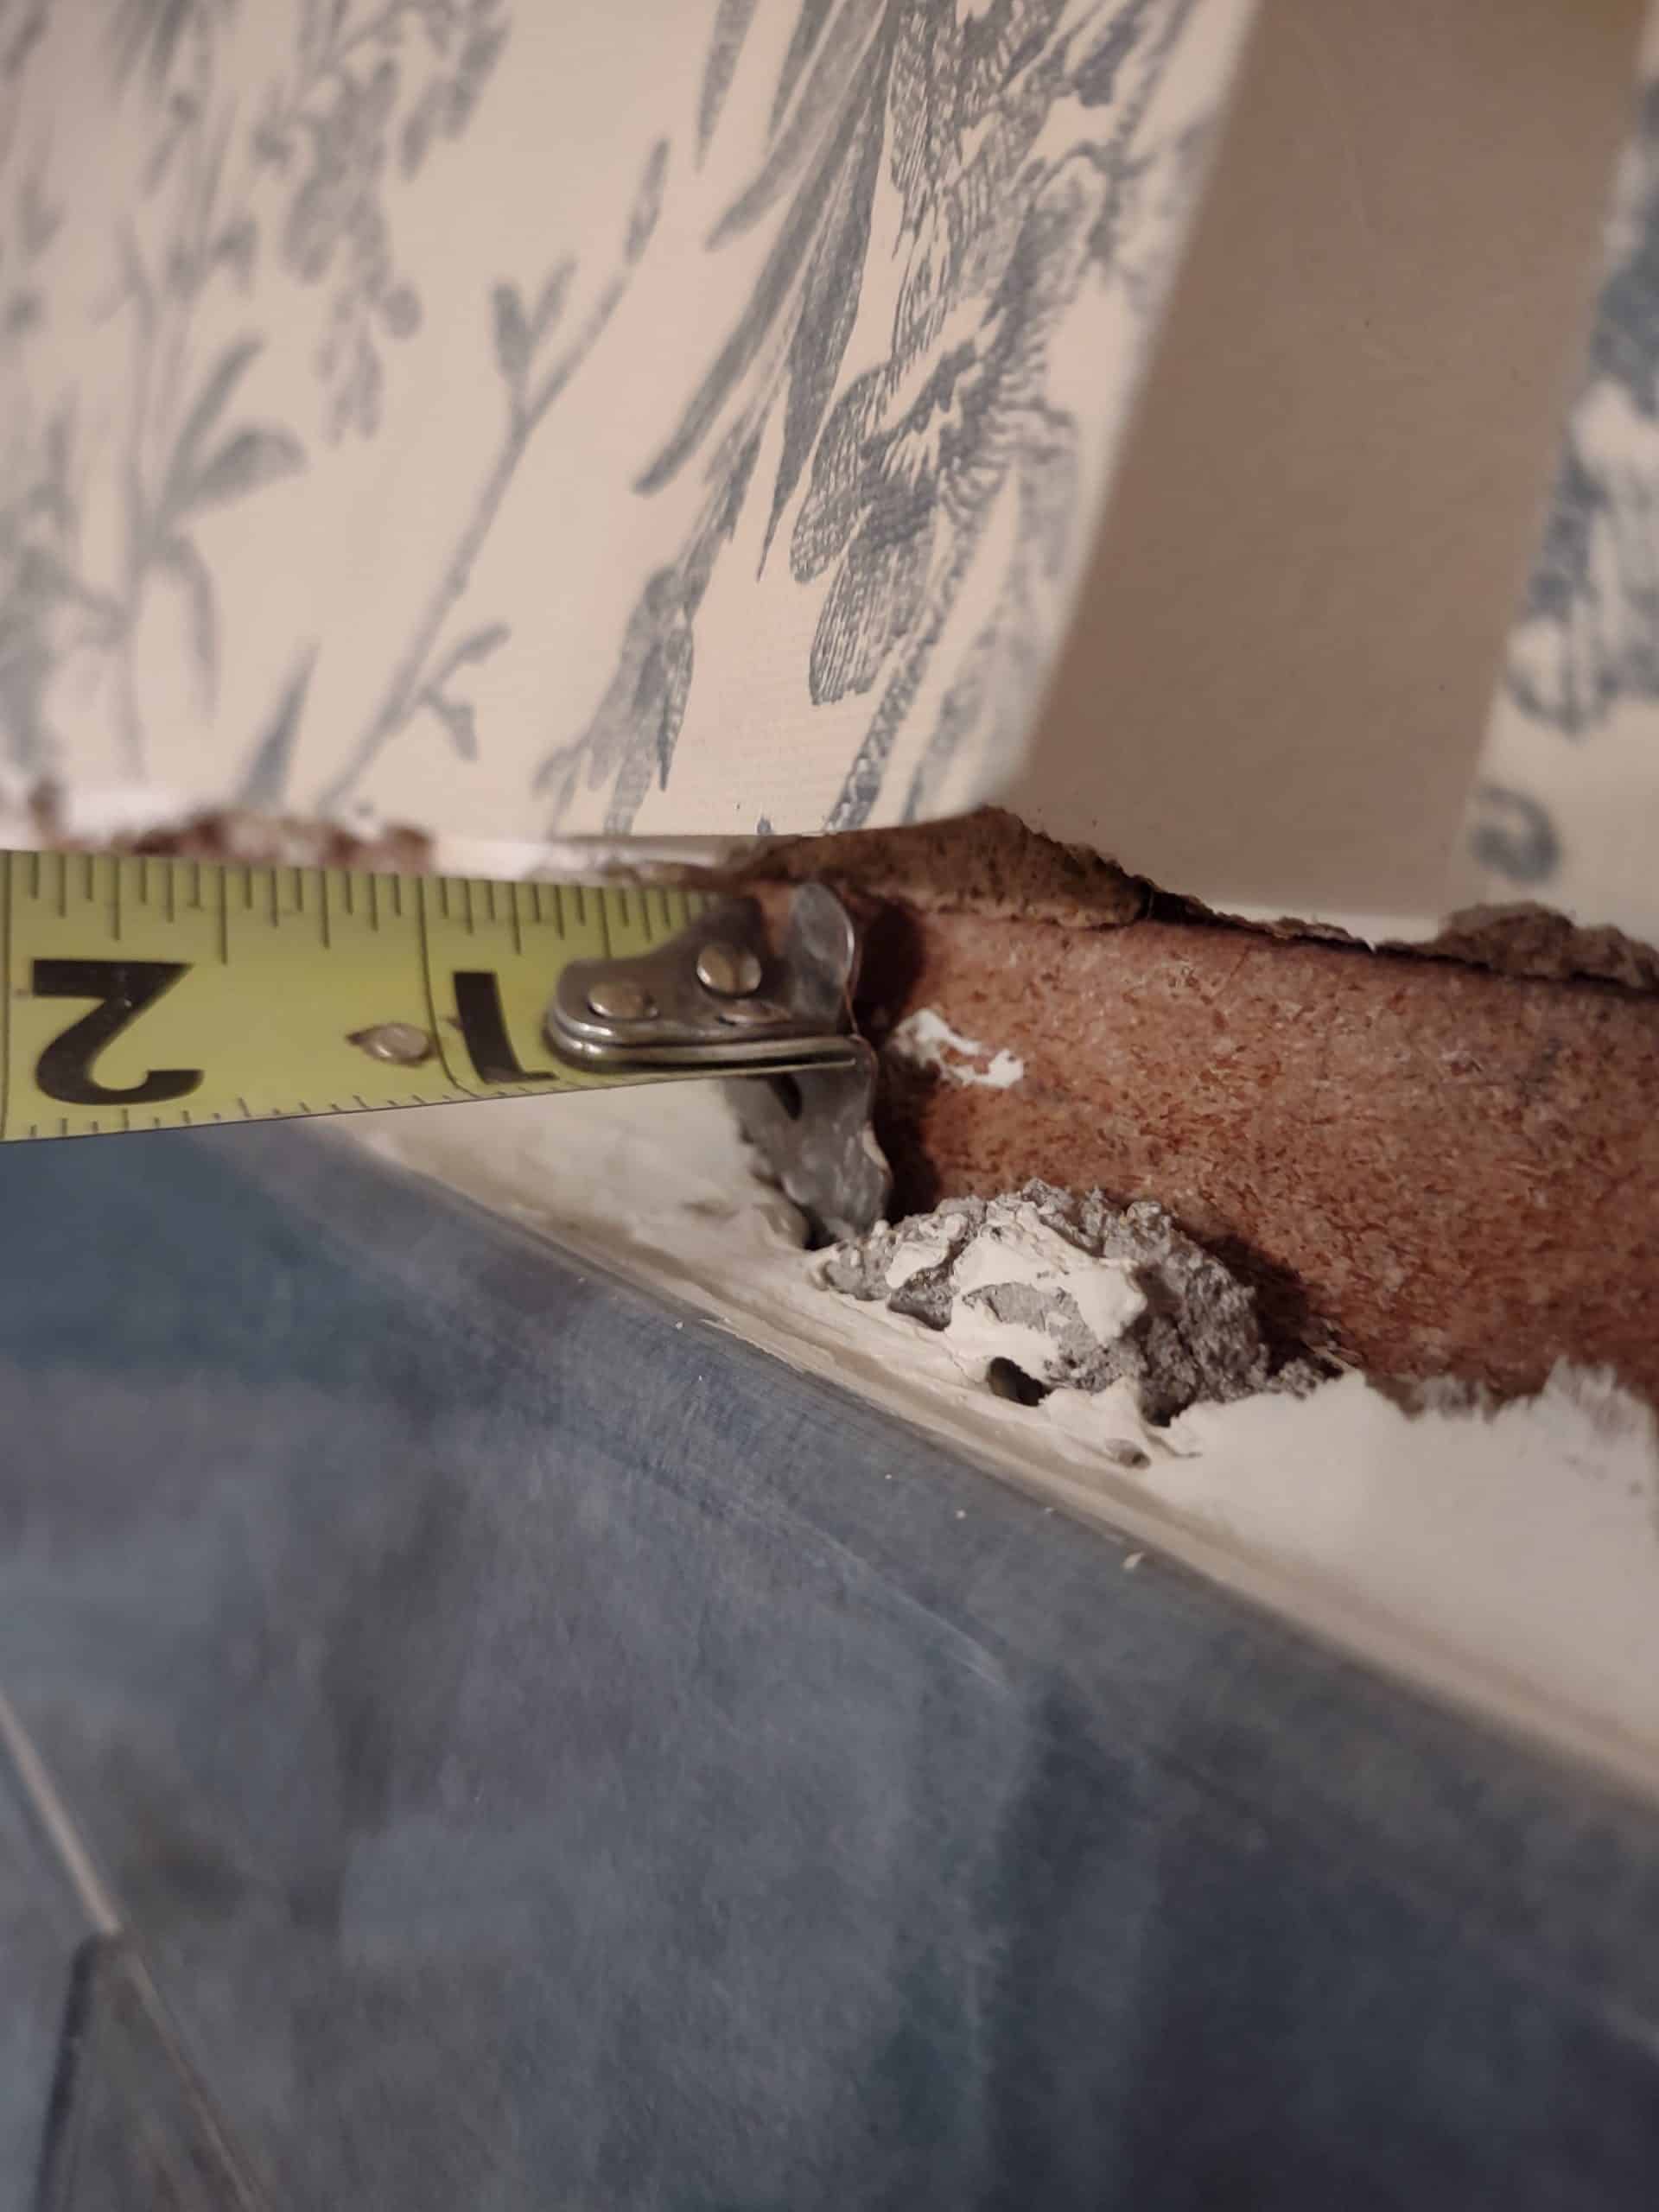
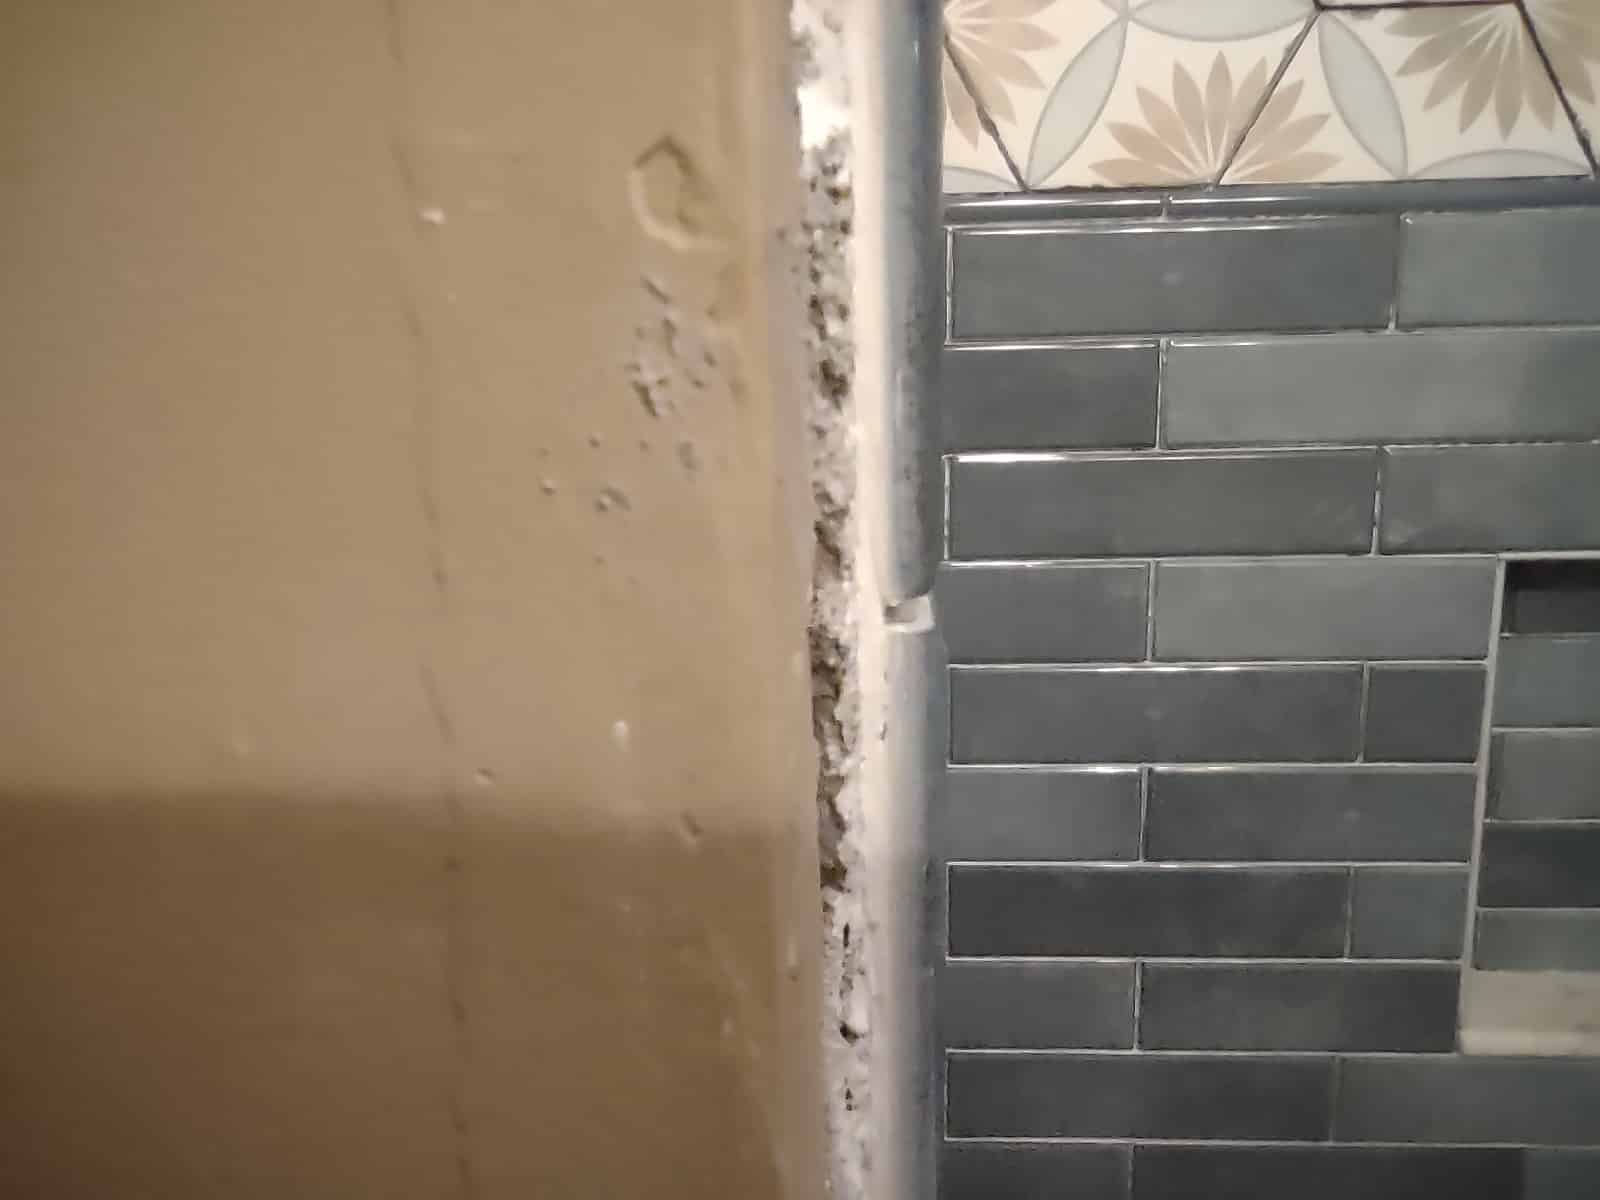
- 1. There was existing plaster of various thicknesses above where our tile was going that we would ideally match up to in elevation.
- 2. Each wall was significantly different thicknesses of plaster, ranging from 3/4″ thick to 1-1/4″.
- 3. The historic nature of the home and its surroundings seemed a good fit for using historic methods for our tile prep.
Tile Prep with Mortar Bed walls
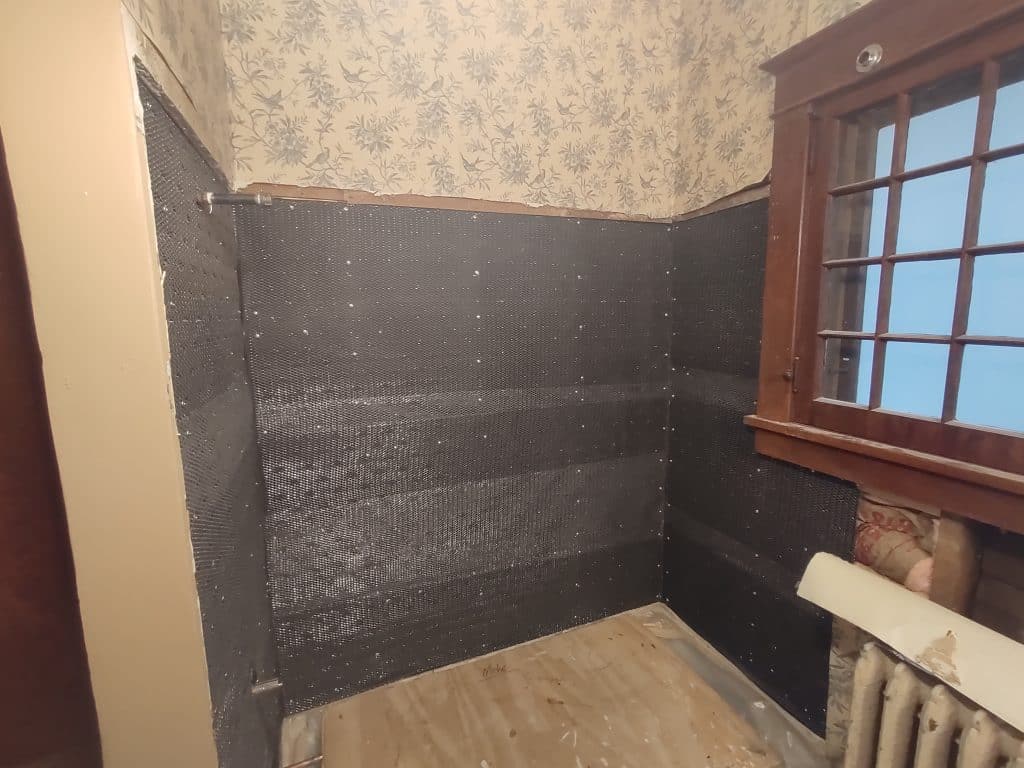
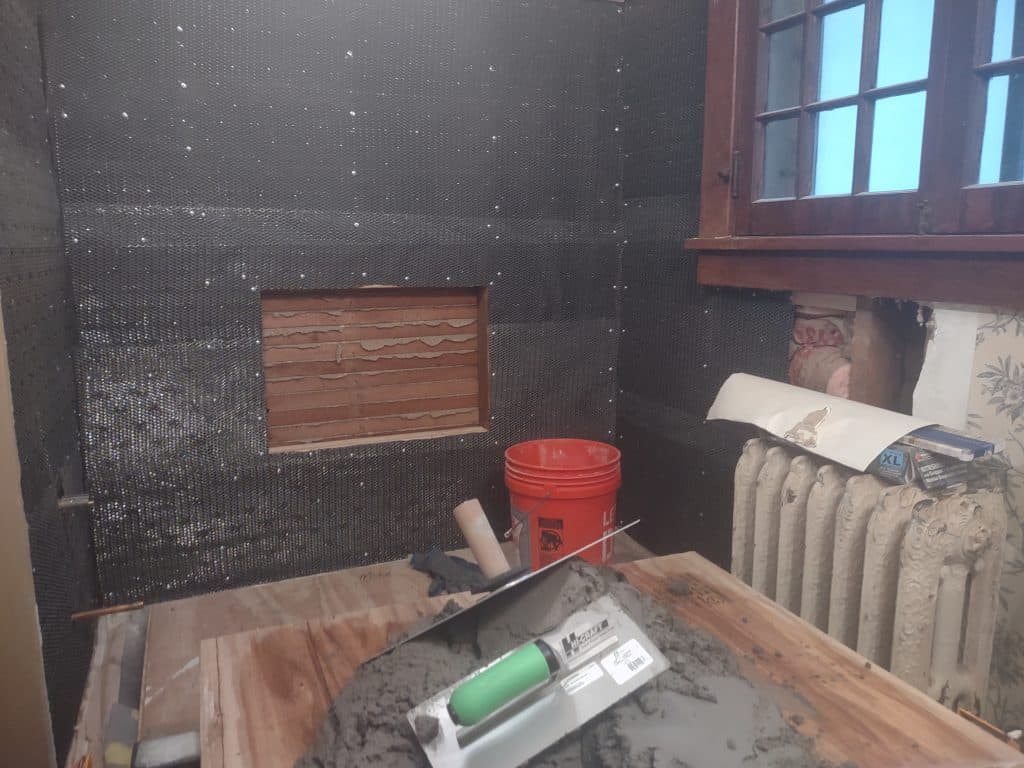
We opted for the “two-coat” method, which is similar in concept to stucco and even a traditional plaster. We start by installing tar paper on the walls, then expanded metal lath. The scratch coat is “keyed-in” to the lath, which means the mortar squishes through the holes and once it cures, those keys holds it in place. Before it dries, we “scratch” the mortar, creating lines in the mortar for our next coat to hold to (no photo, sorry!).
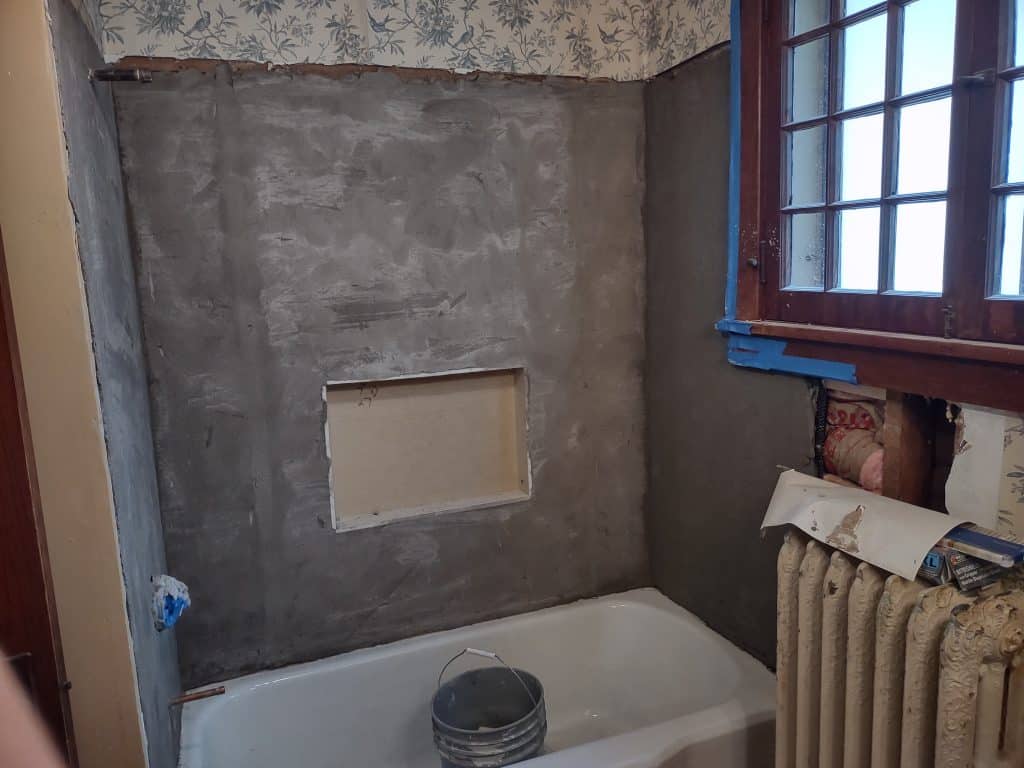
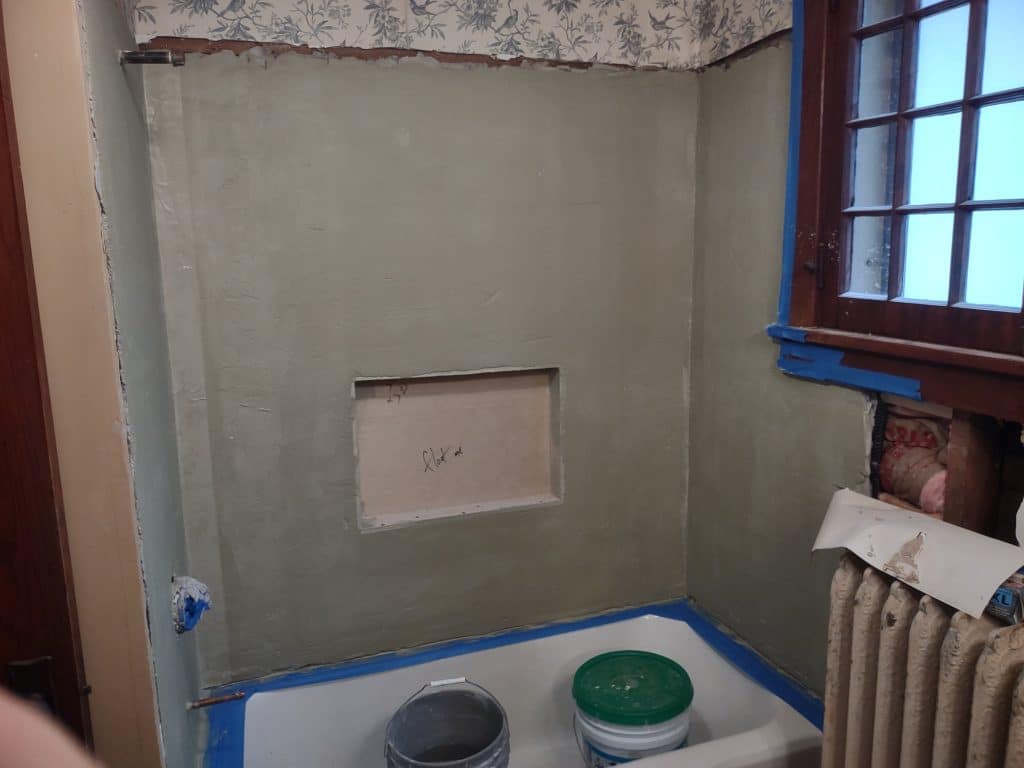
Our next coat is what would be called our brown coat in a stucco or plaster system. Unlike those, however, the second coat for tile installation has to be very flat (TCNA standards call for less than 1/8″ variance over 10ft, and less than 1/16″ over two feet). If we can get it flatter, even better – that will make the tile installation go more smoothly. For this job, we also installed a waterproof foam board for our niche. Once everything had dried for a few days, we used a liquid membrane waterproofing and then we’re ready for tile.
Tile Installation
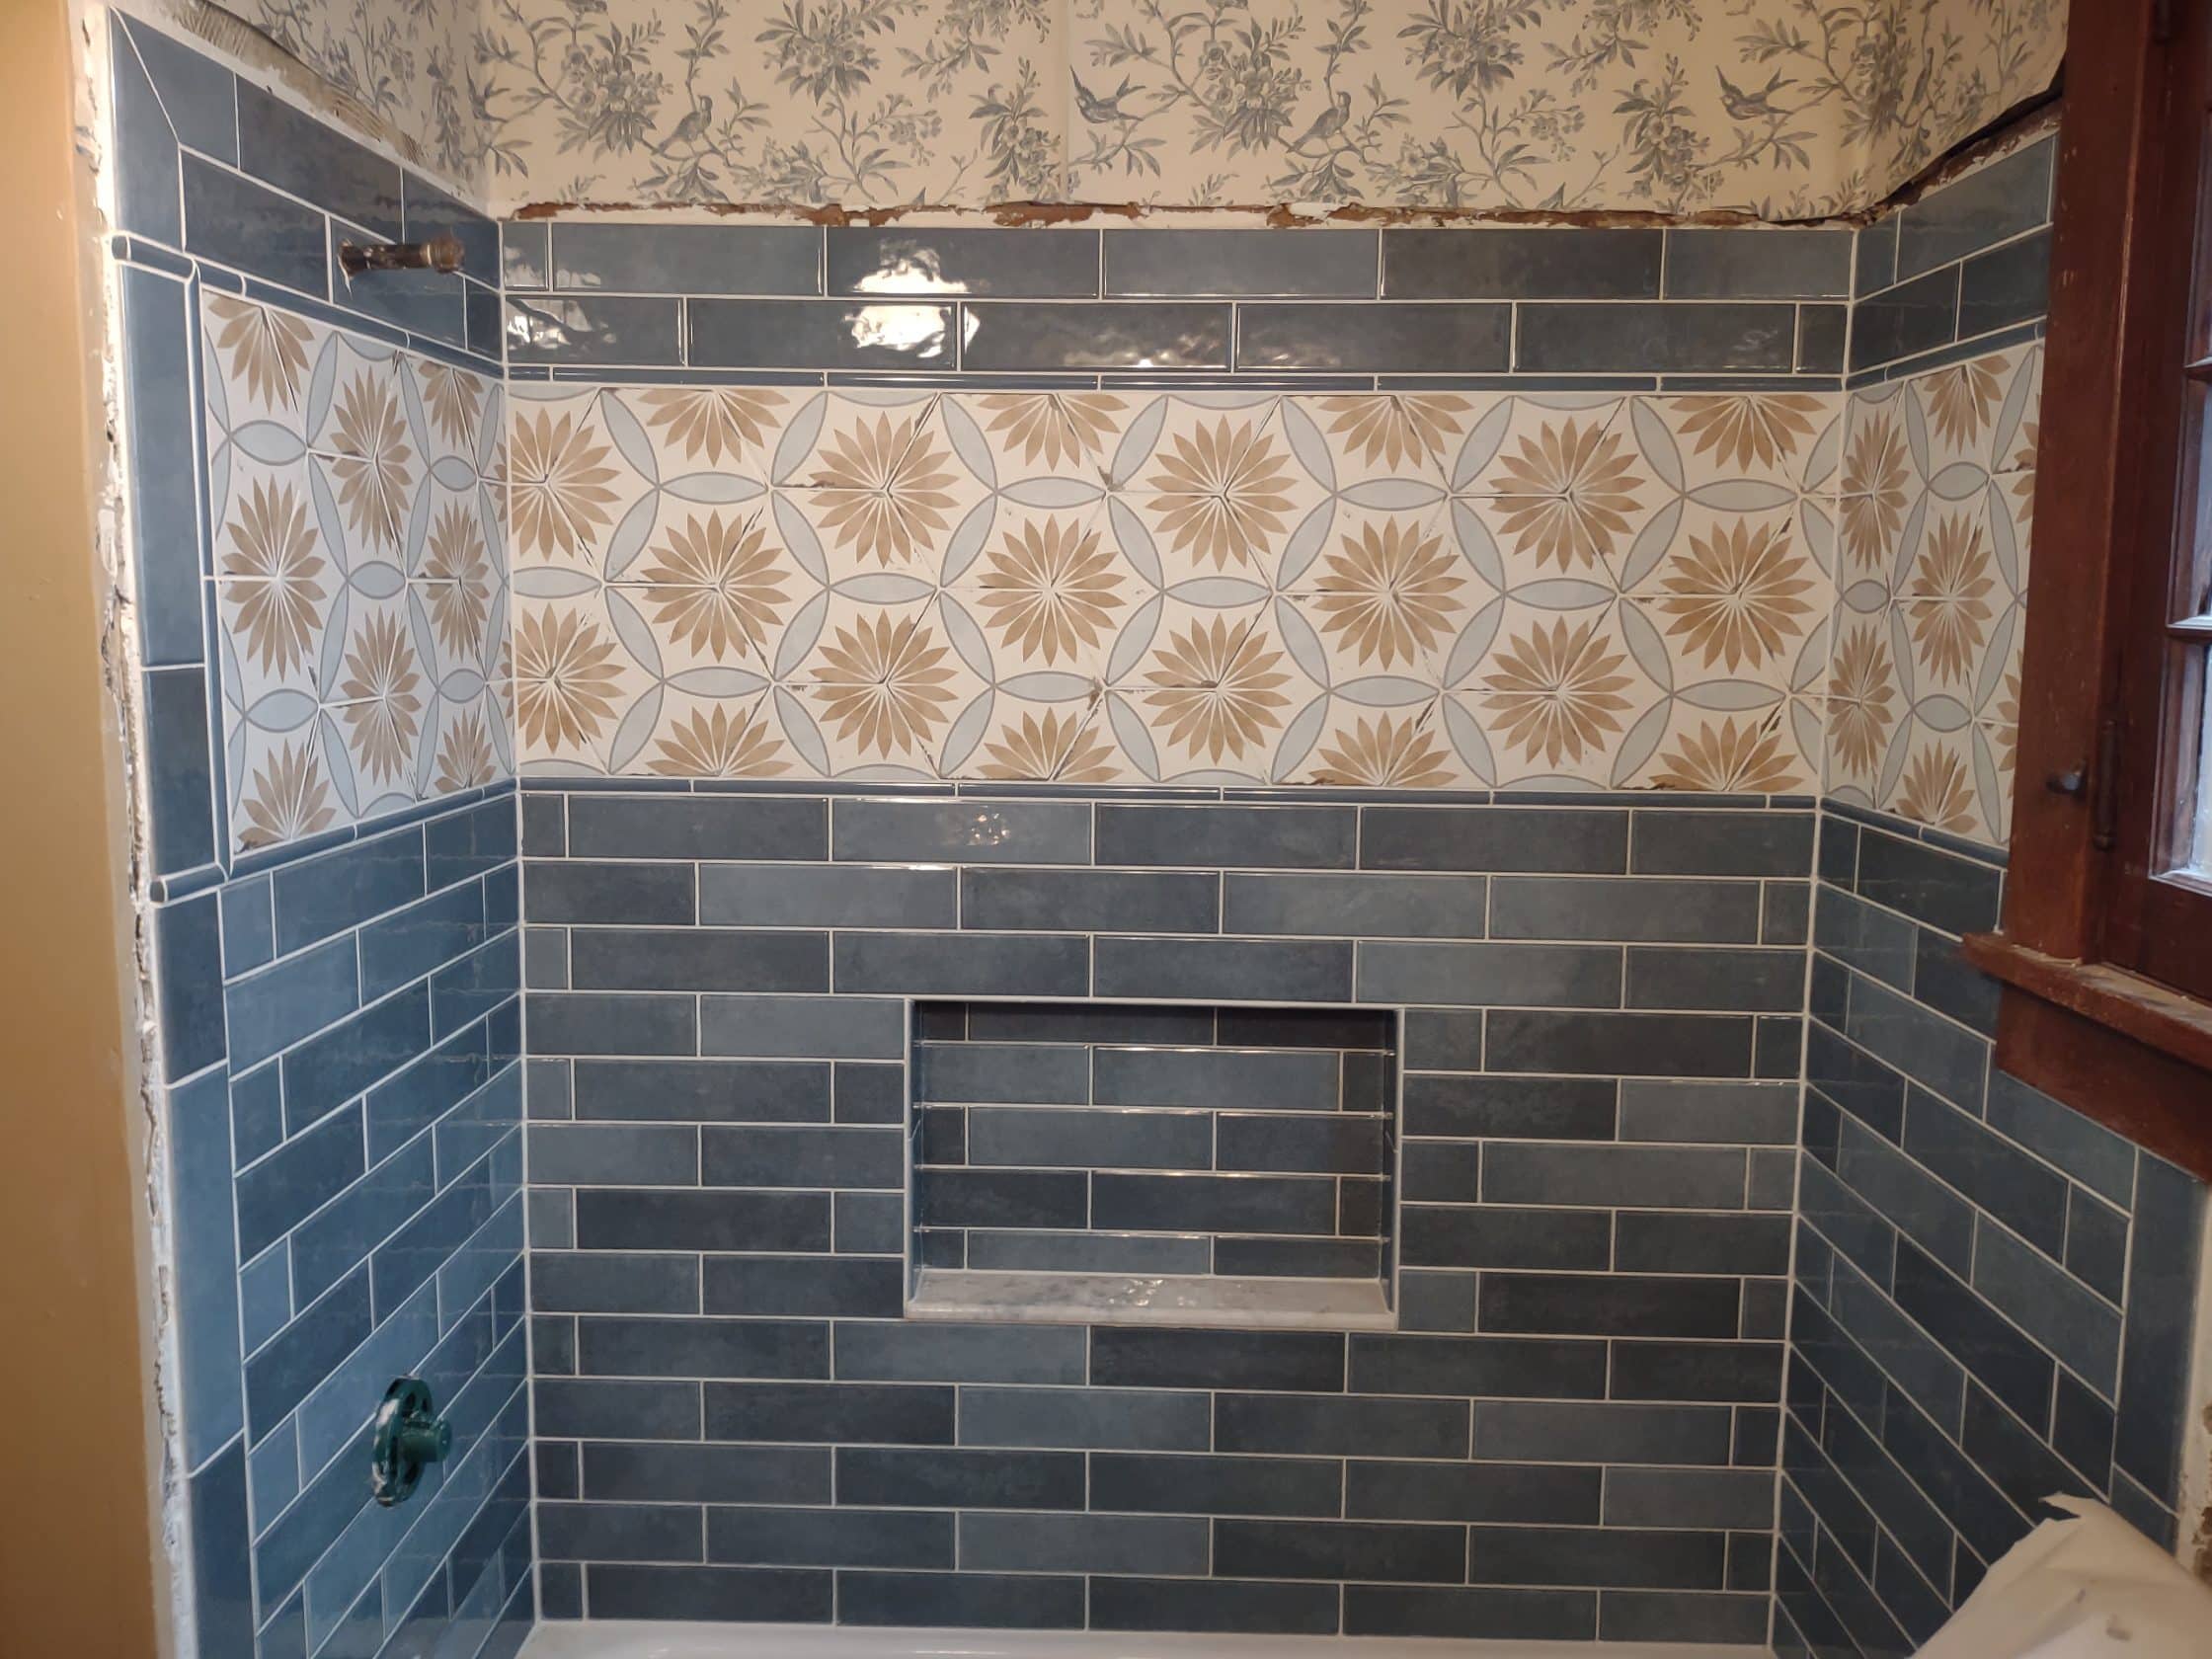
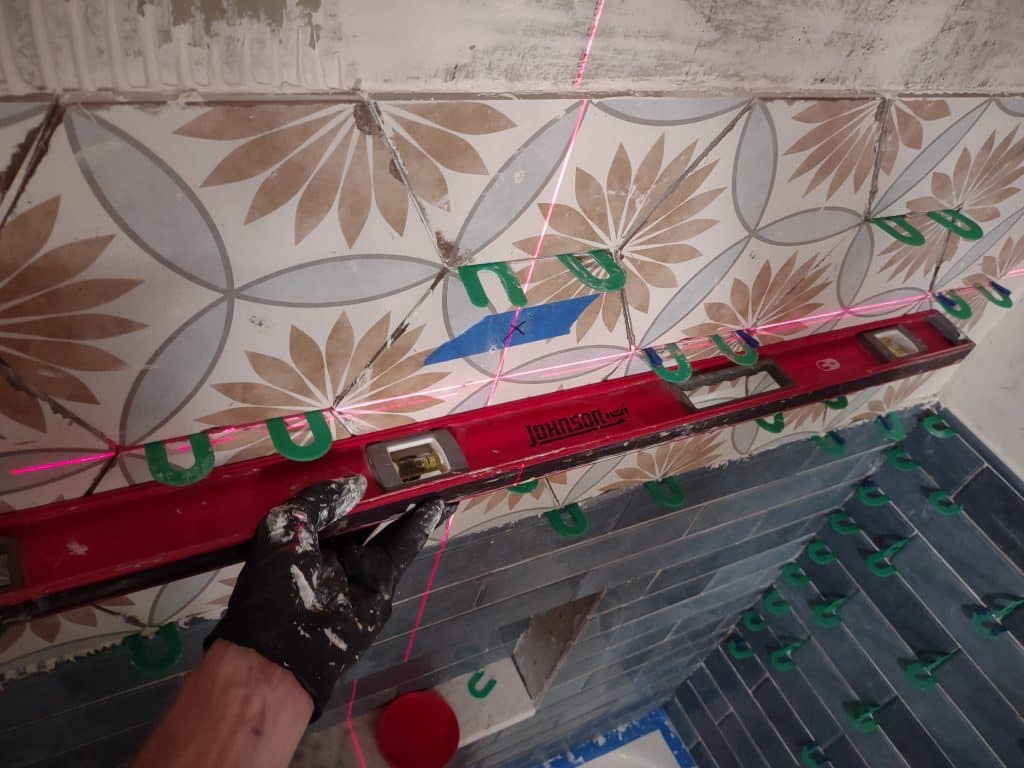
First step for tile installation is planning our layout. We figure out any patterns to used and plan our cuts ahead of time to achieve a balanced look. Then, we begin to set tile. Again, we’re looking for a consistent and complete layer of mortar bonding the tiles to the substrate.

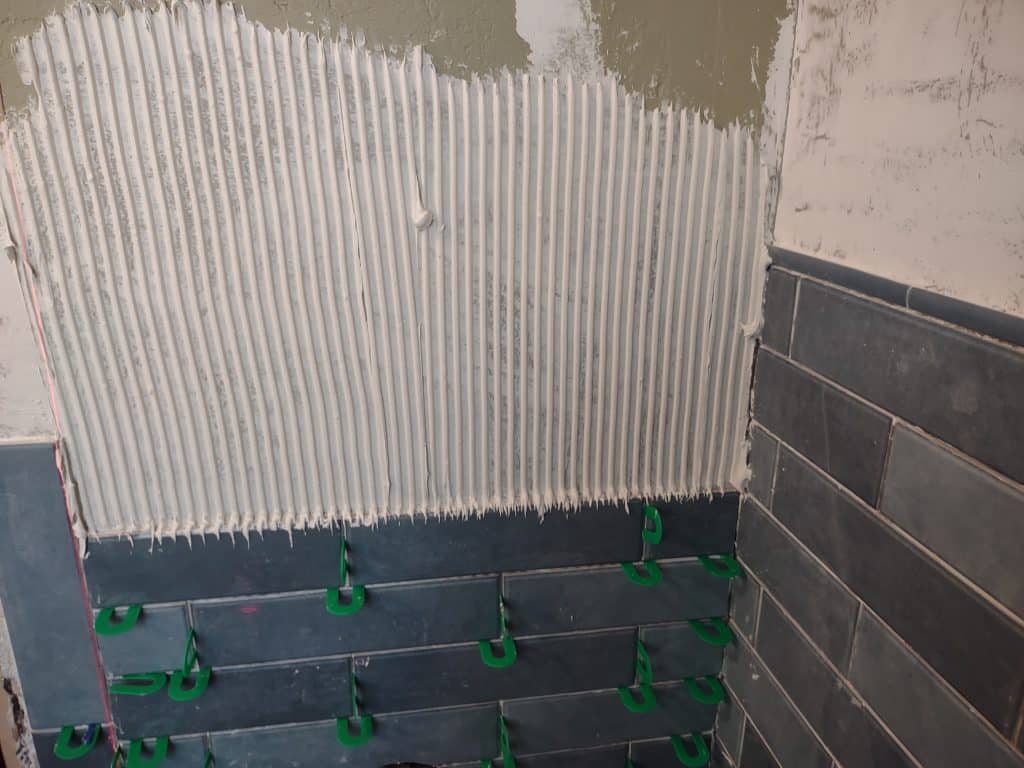
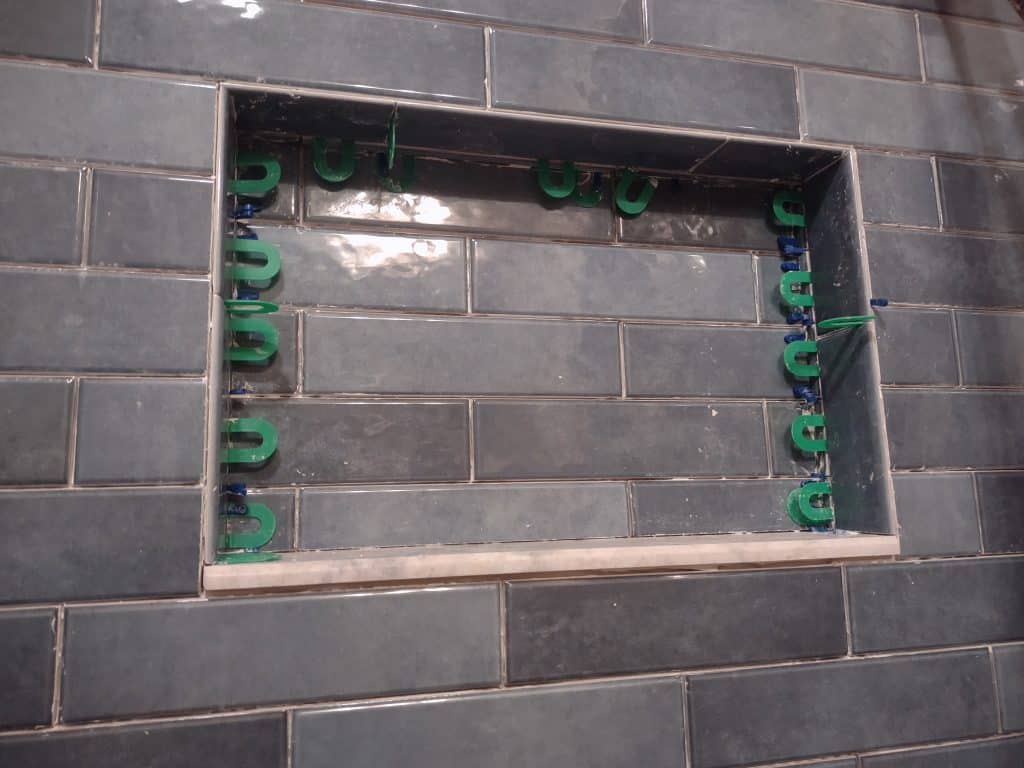
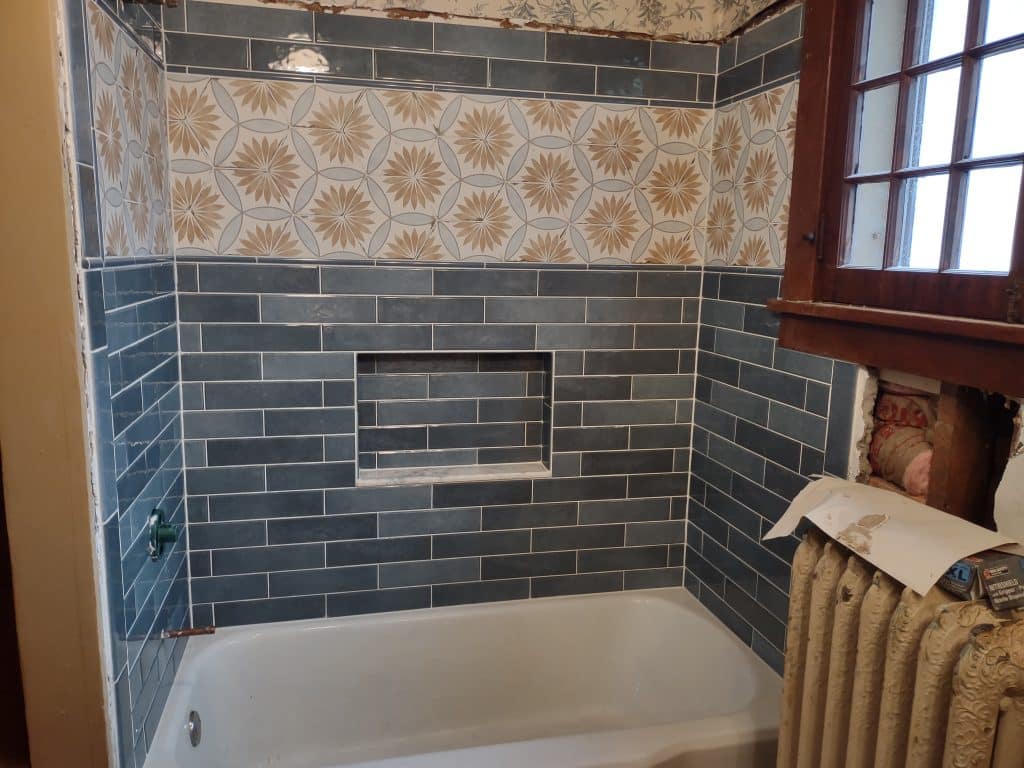
All the little details add up! Here, you see the the final stages of setting including the sides of the niche and the top couple rows with bullnose.
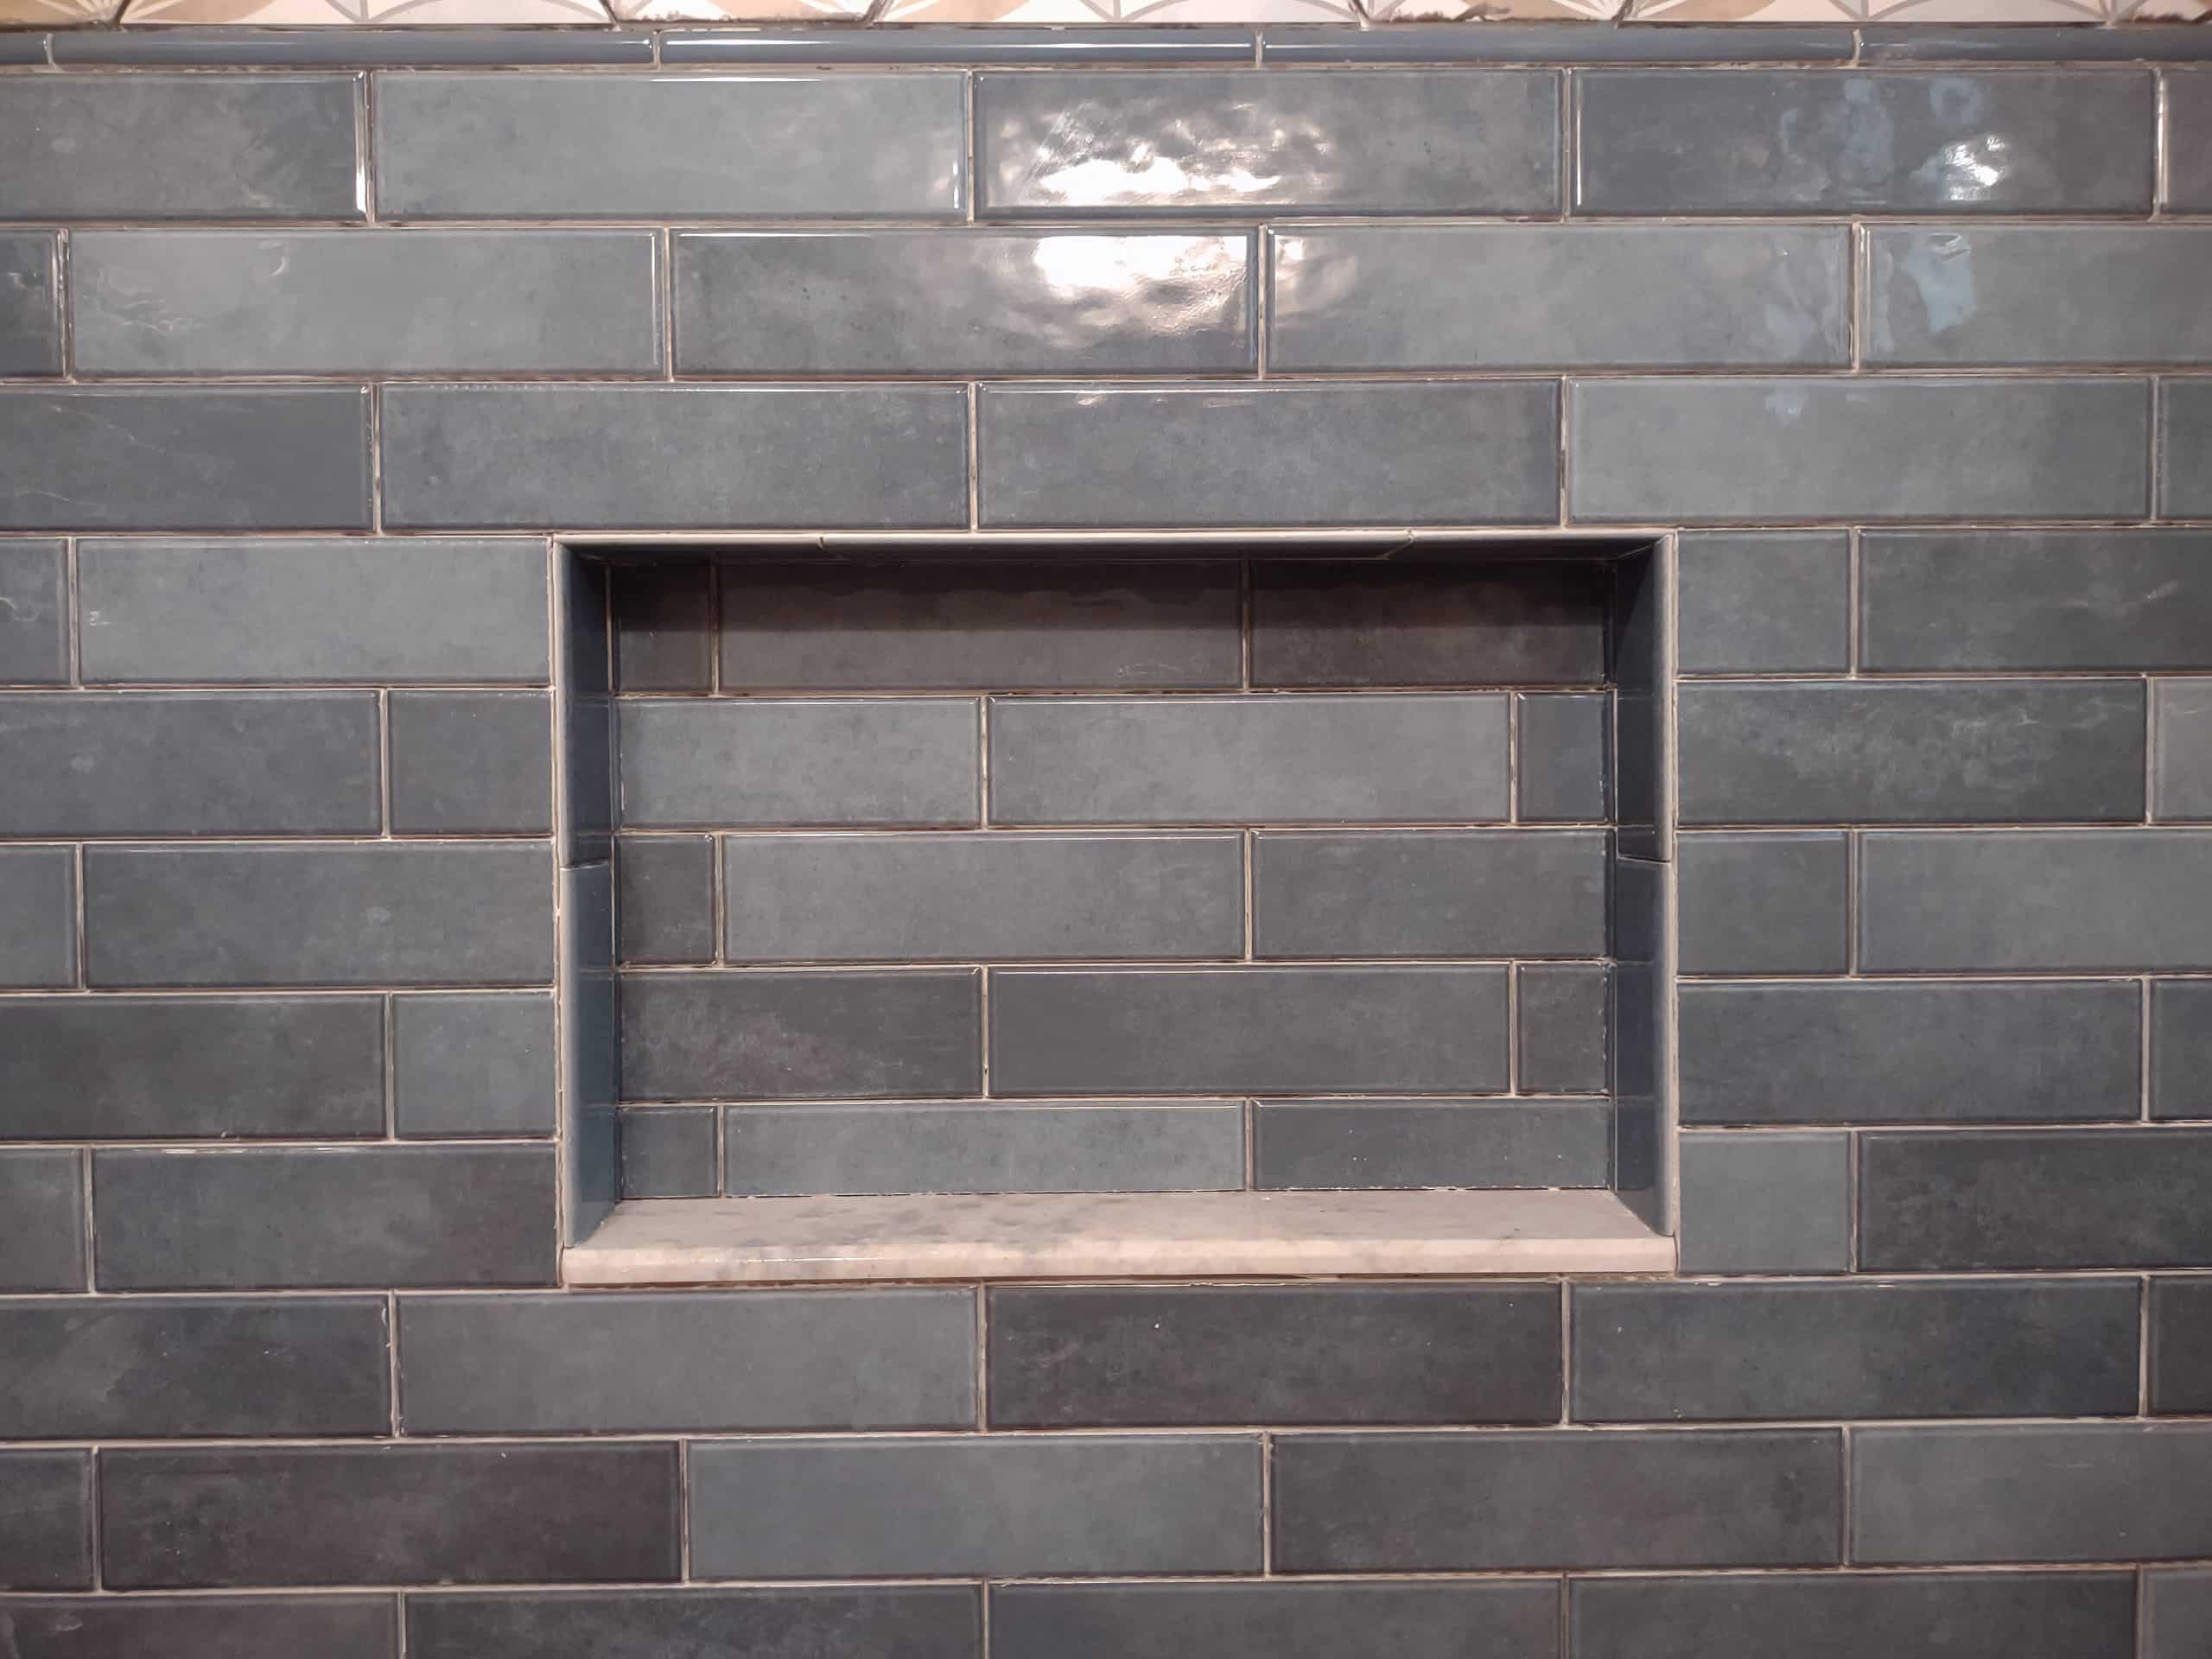
After the mortar sets up, it’s grout day. We cleaned everything up really well, grouted, and put silicone sealant in any all the corners (grout in corners will crack as the walls flex past each other).
Materials specified for this job
2-coat mortar bed: 15# tar paper, 2.5# expanded metal lath, fat mud
Waterproofing: Laticrete Hydro Ban liquid waterproofing membrane
Thinset mortar: Laticrete MultiMax Lite
Grout: Mapei Flexcolor CQ in white
Sealant: Mapei Mapesil-T Plus in white